You're out celebrating a friend's birthday. What do you do? Take out your iPhone!
You're rafting down the Colorado River or hiking in the Rockies. What do you do? Take out your iPhone!
You're driving home from work and see a guy in an Elvis costume. What do you do? Take a "grab shot" with your iPhone!
Each of these scenarios support that now familiar adage, The best camera is the one you have with you!
But the iPhone is no longer just a grab-shot camera. It's become a serious tool worthy of your camera bag.
With our iPhones, we can not only take a photo, but we can process it on the spot and, using an array of social media – Facebook, Instragram, Twitter – we can share it instantly with friends and family. This combination of social media and photography is not only fun, but it's also a great way to learn and be inspired by creative work from around the world.
Photography in the pre-mobile era was often a very intentional endeavor that started with the commitment, Today I'm going out to shoot x,y,z. Part of that commitment meant:
Blocking sufficient time to get to the shooting location, Gathering gear, Deciding which cameras to take, and Choosing which lenses to pack, Packing sufficient batteries and SD cards, Stowing a tripod, and Collecting filters, like a polarizer or neutral density. And all this gear went into a bag (or two!) that I had to lug around all day. Sound familiar? And that is what my day would be about; very intentionally getting out to shoot.
Of course, I still plan intentional shooting experiences! But, when you compare that intentional scenario from yesterday, with what happens routinely today, well, things can be very different.
Today, I get up and get on with my day, whether it's work or play, running errands, or just hanging around the house. As the day unfolds, I see things to photograph; the play of light across a clay sculpture my son made in 2nd grade, or a bowl of pears ripening on the kitchen counter. Things that in the past I would have either ignored altogether or just shrugged my shoulders at. (How many times have you said, Dang! I wish I had my camera!)

Mug
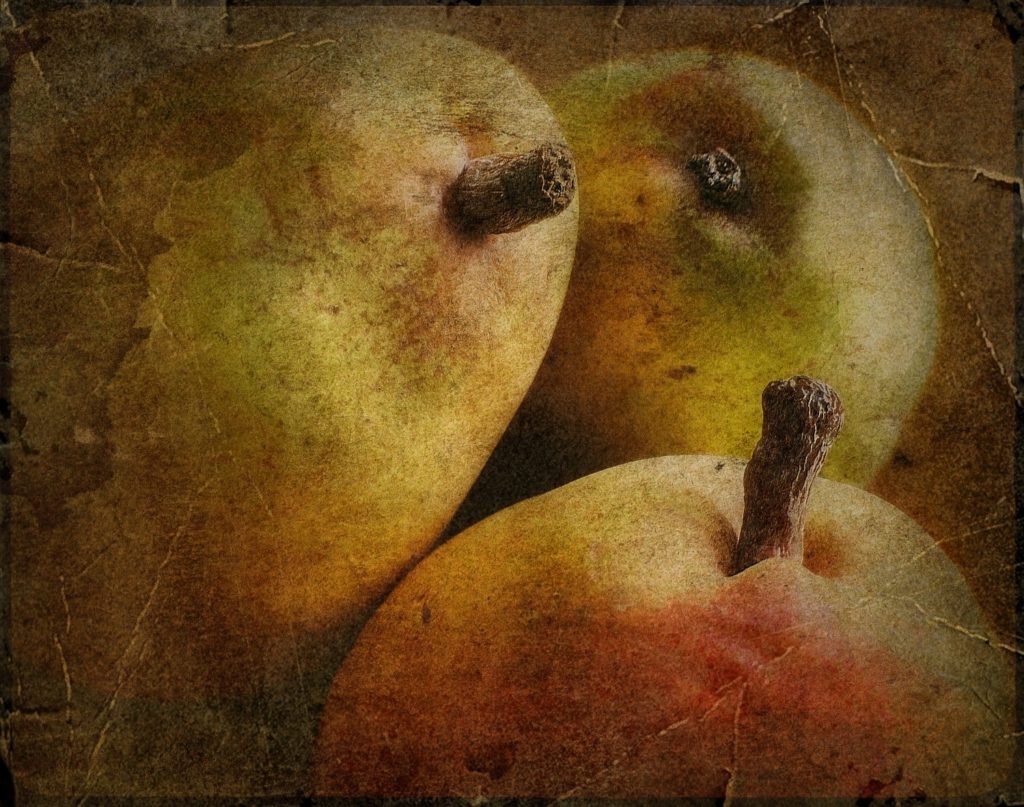
Pears
But today, guess what? We do have our camera! Packed nicely into that ubiquitous device that doubles as our phone. So, today I shoot all the time. I photograph things that I might never photograph otherwise, and not always, but many times, the results are wonderful! Often I find the art in day-to-day life.
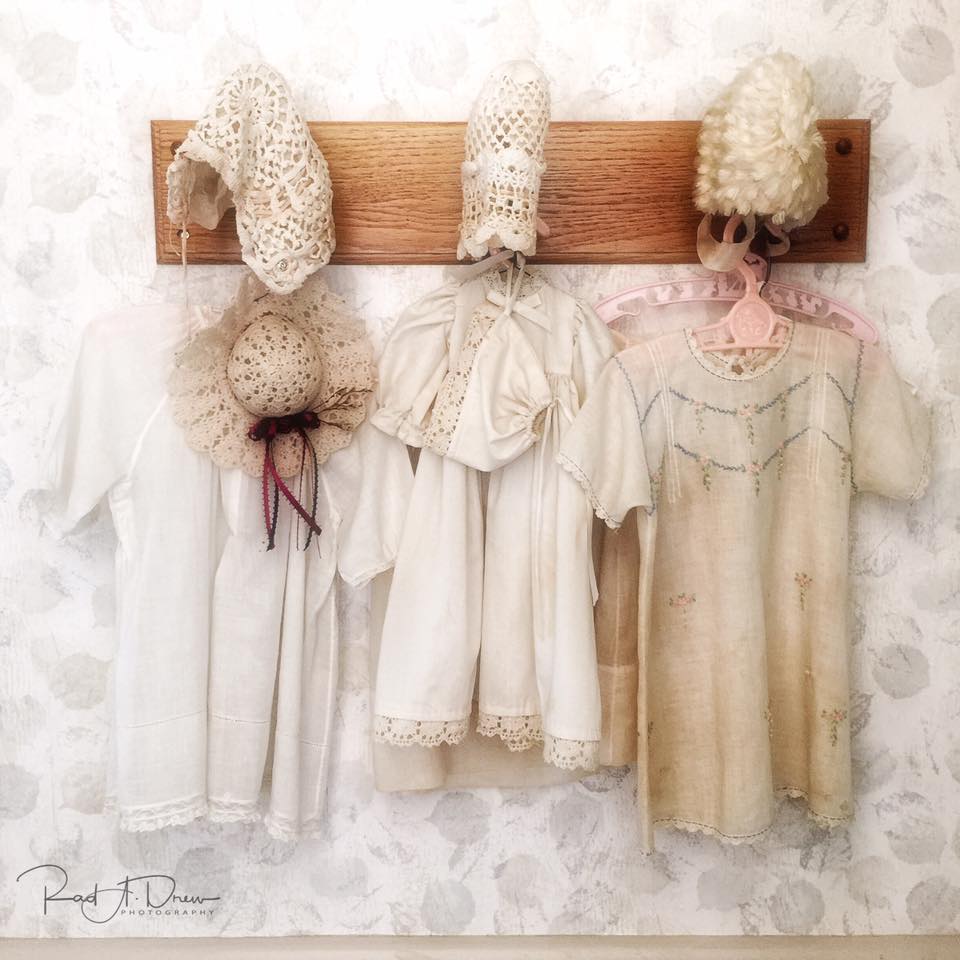
Sisters
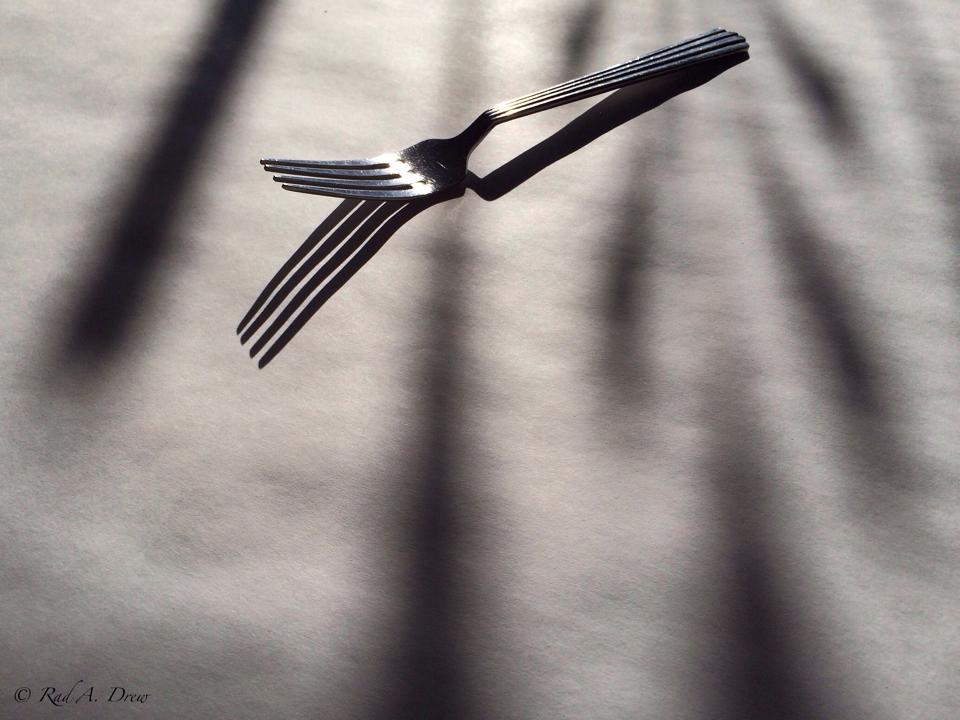
Fork
,

Succulent
And, today, when I make a commitment to go out and shoot, you can be sure that my iPhone is one of the cameras I'll shoot with. Many photographers I know, including me, use the iPhone as a sketchpad or like a Polaroid, to experiment with compositions before taking a shot with the traditional camera. But the iPhone is no longer an ancillary piece of gear only to be used when we don't have our "big" cameras handy.
Many of the images I choose to frame and hang on the wall are iPhone images. In fact, these represent the lion's share of the work I do. Here are a few images from my gallery.
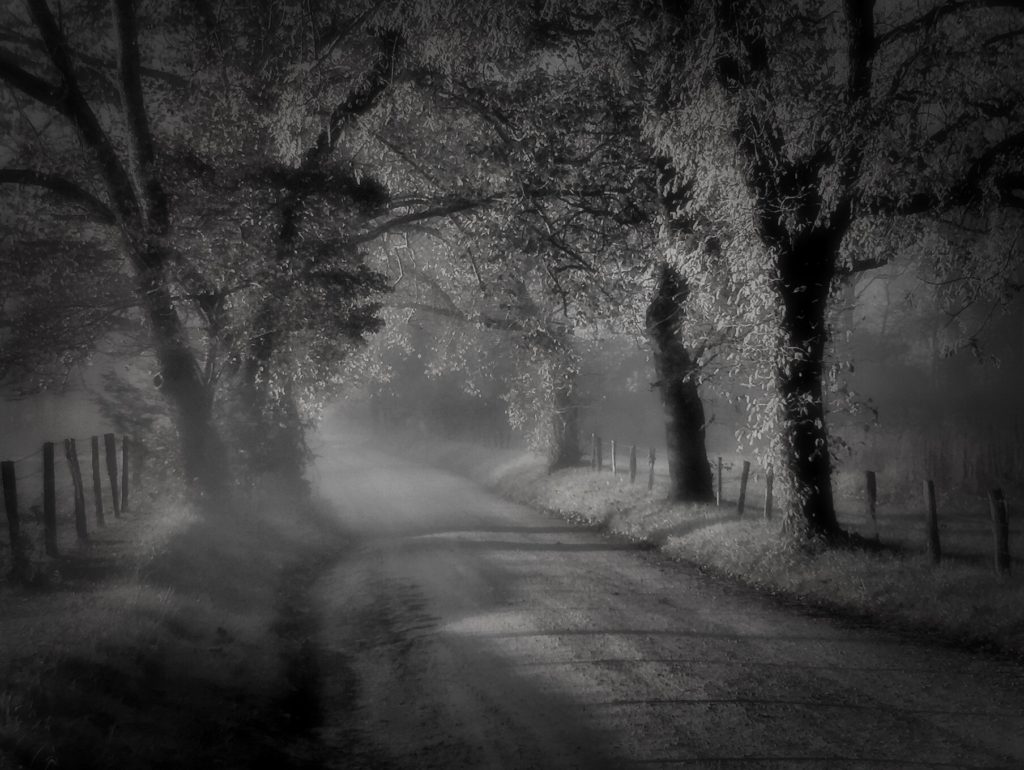
Cades Cove

Cuban Dominos
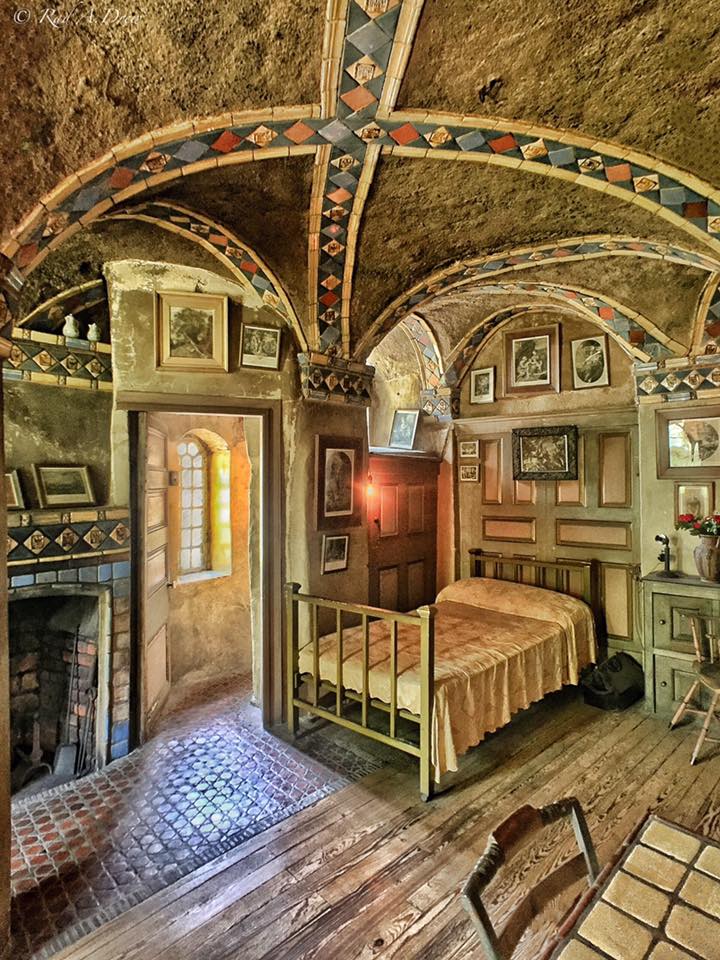
Fonthill Yellow Room
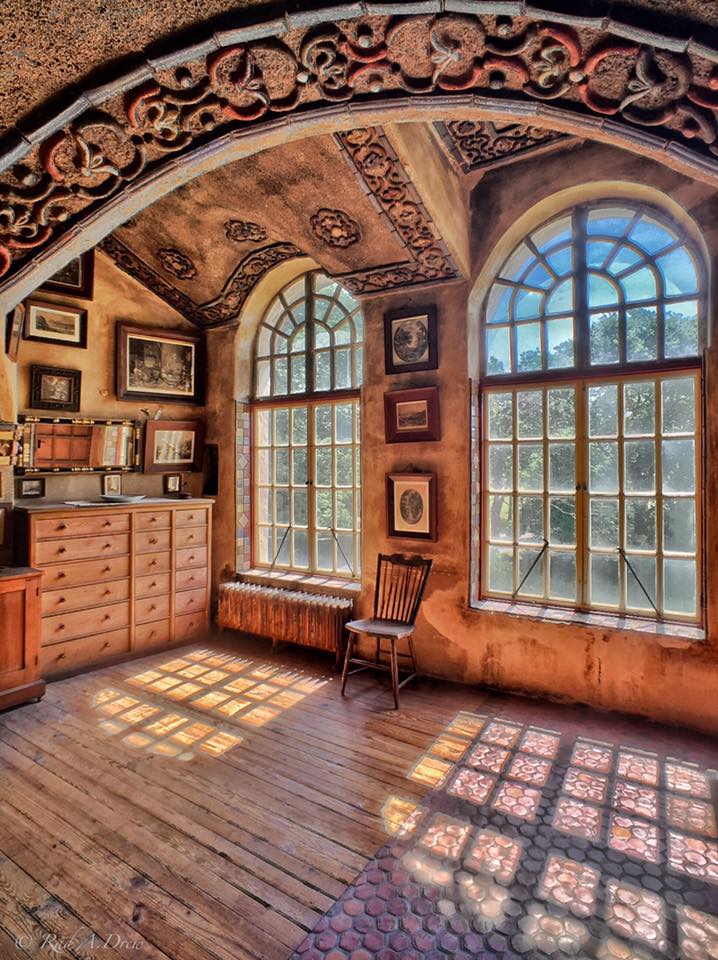
Fonthill
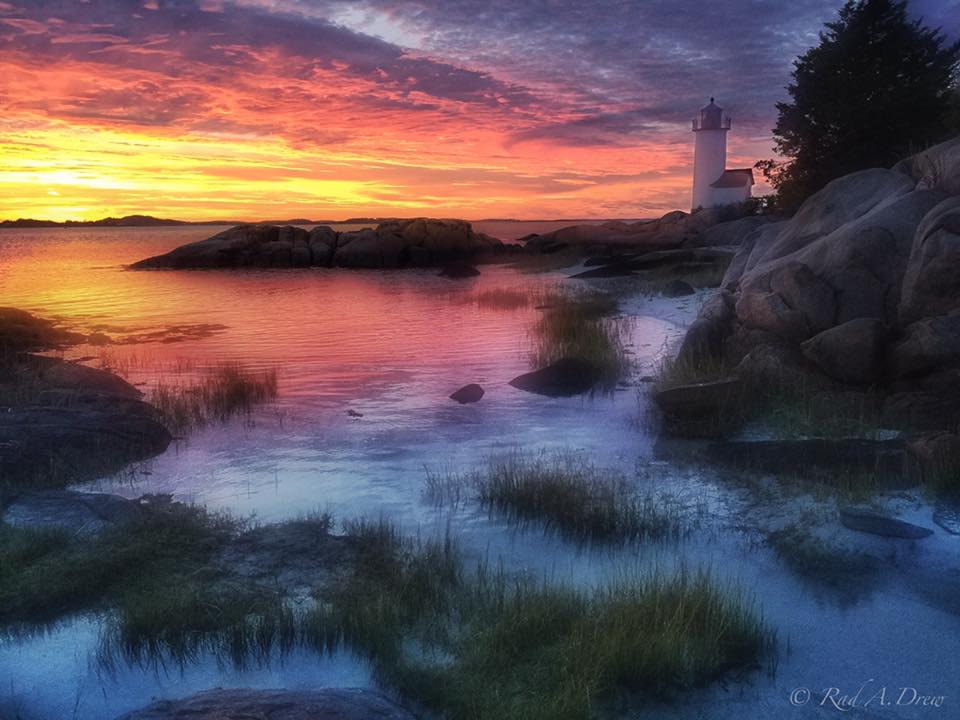
Annisquam Lighthouse
Norman Rockwell-ish

Snowy Irvington Bungalow
Another important contribution of the iPhone is that it provides us with opportunities to practice photography. In the old scenario, how often did we set out to shoot intentionally? Four, maybe 5 times a month? Ask yourself this: How frequently do you need to shoot to get good at your craft? Musicians and athletes practice hours a day; some even sleep with their instrument or the ball! Just about anyone who's good at anything spends hours practicing and honing the fundamentals of their craft.
The iPhone allows us to practice looking for subjects and really seeing, and envisioning possibilities. We can be constant students of composition and light, training our eyes to look for different ways to frame a scene. We can hone our craft and exercise our photographer's brain throughout a typical day. Practicing like this since I began shooting with my first iPhone in 2010 has helped me grow as a photographer.
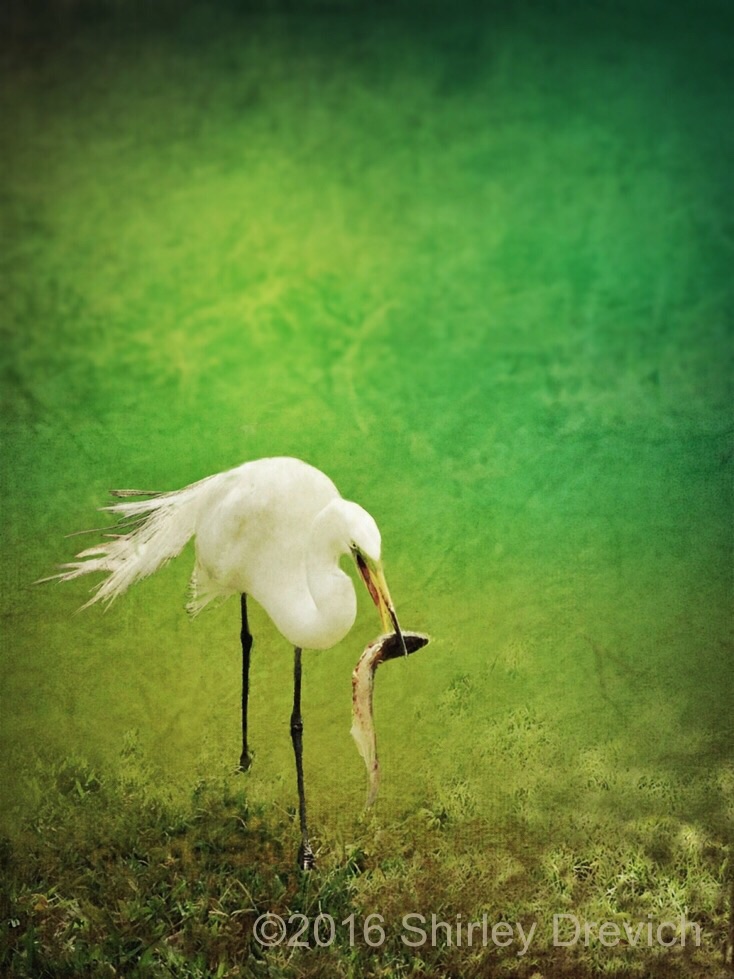
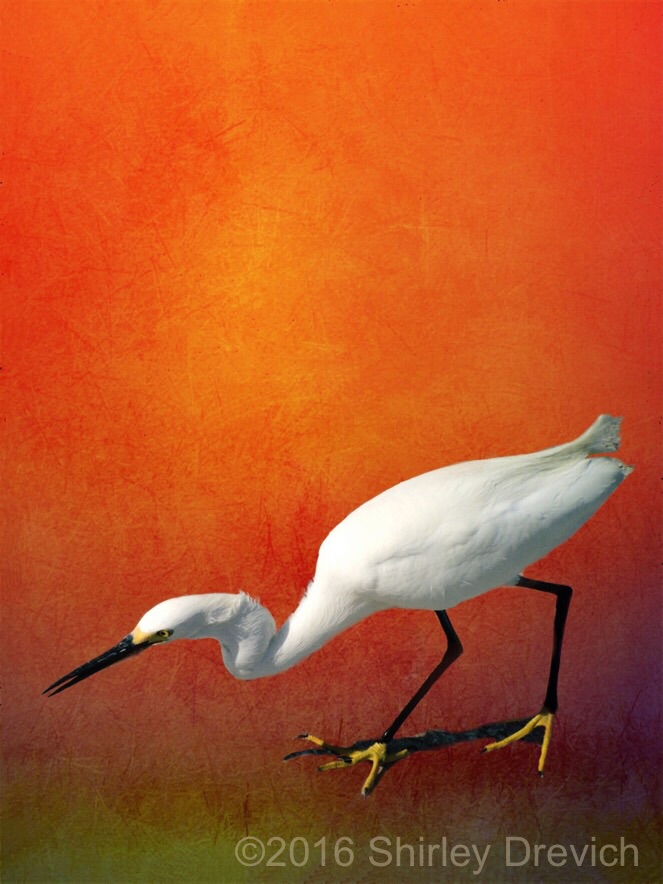
But, you say, the iPhone isn't serious photography. It's got a small sensor and can't take the kind of photos that I take with my "big boy" or "big girl" camera. Well, it's true; there are many things the iPhone can't do. You're not going to take it to do typical bird photography where a long lens usually is required, (unless you're photographer, Shirley Drevich, who creates award-winning bird photos with her iPhone).
And the iPhone won't be the camera you choose for shooting a football game from the sidelines, (unless you're Shawn Hubbard, team photographer for the Baltimore Ravens).
Each year as the technology advances, the iPhone camera's capabilities expand, and enhanced features allow us to do exciting new photography with this compact device.
The iPhone contains a serious camera and is gaining respect as a tool worthy of any camera bag. Just ask these pros who have been traditional photographers for longer than most of them like to count!
John Barclay, veteran photography tour leader, teacher, and speaker. His work, and his presentation Photograph What Makes Your Heart Sing, has inspired photographers around the world. Dan Sniffin, Fresno, CA, photographer, and teacher, whose remarkable way of seeing has led him to create images that have received recognition from National Geographic and a place in private collections around the world. Tony Sweet, as a Nikon Legend Behind The Lens, and teacher of his long-running Visual Artistry Workshop Series has taught and inspired thousands of aspiring photographers in his more than 20-year career. Kevin Raber, adventure photographer and CEO of Luminous Landscape, whose life-long career in photography spans nearly every aspect of the industry. Kevin's one-man show featuring all iPhone photos taken with the Hipstamatic camera app will open in his studio in April. Karen Messick, photographer, teacher and photographic artist whose creative iPhone photography has encouraged many to take up the art form. Brenda Tharp, Landscape and Travel Workshop and Tour leader includes the iPhone in her teaching repertoire. Dan Burkholder, a photographer's photographer, one of the most experienced and respected in the industry, began making iPhone images with his iPhone 3 back in 2007! Since then, he has taught and inspired countless aspiring photographers to create using the iPhone. In addition to leading tours and teaching, Dan turns his iPhone photos into fine art, taking many of them back into the classic darkroom where he prints them as handmade platinum/palladium prints, often combined with gold leaf, palladium leaf and gesso. 
Dan Burkholder palladium print
What do these photographers all have in common besides a lifetime of photography experience at the highest levels? They all embraced the iPhone early on, recognized its potential and how much fun it was, and they use it today as one more useful tool in their camera bag.So, the iPhone brings to us the capability to practice our craft of taking photos. But today, much of the craft or art of making a photo, of creating an image, includes what we do to it after taking it. That is, during (in photographer's lingo) post-processing.
The iPhone lets us not only capture a photograph but also create an image using extraordinary post-processing capability. It's like having Photoshop in the palm of our hand: a portable, compact, digital dark room literally at our fingertips.
There's another aspect of iPhone photography that I want to shine a light on. The iPhone, relative to traditional cameras, is simple to operate and inexpensive to own. It won't break the bank, and one doesn't need to know the entire array of technical photography (f-stops, ISO, depth-of-field, white balance, etc., etc.) to be able to use the iPhone with surprisingly good results. Face it; the world of photography can be a daunting and intimidating place for someone new. Imagine showing up at a camera club meeting to learn, and hearing all this techno-speak. It can make one feel inadequate and incapable of learning photography. I know many people who have given up for this very reason. The iPhone, however, has made photography accessible to nearly everyone, and its relative ease of operation has seduced many into the practice of photography that may never have ventured in.
Case in point, San Diego photographic artist Robin Robertis . Robin shied away from the big camera experience, but works magic with her iPhone.

And I see people discovering or reconnecting with their creative potential all the time. People, like many of us, who've had the experience of being told by a teacher or parent at an early age that they couldn't do or weren't any good at (you fill in the blank; drawing, painting, coloring, etc.) They internalized the belief that they couldn't create and that they weren't creative. I believe that we all are creative beings and that each of us has inside us a creative core that yearns to be expressed. The iPhone has, for many, been the key to their creative source, providing a means of artistic expression.
I think that the revolution and evolution of photography over the past 10 years is the best thing that has happened with the art and craft since photography was first introduced to the general public in 1839. Sure, we see loads of forgettable photographs, but in that heap, are many that are wonderful and might never have been made were it not for the iPhone. Even those "forgettable" photos are part of someone's learning process, so, in my way of thinking even these are still of value. I see photography as a form of therapy that is less for the viewers than it is an important process for the individual photographer.
Over the next year, I'll publish a series of articles in Luminous Landscape on the iPhone and mobile photography that explore:
The potential of mobile photography as an art form Apps for painting, blending, grunching, etc. Slow shutter processes Macro/Micro photography New technology Photographers and digital artists to follow Accessories including attachable lenses, tripod brackets, batteries and underwater cases How-To videos and tutorials And a slew of other resources Whether you are new to photography or are an experienced traditional photographer, I'll share with you ways that you can use your iPhone to create great work and grow as a photographer in the process.
Next Month: Using Your iPhone to Take, Edit, and Stylize; an Overview.
Publsihers Note: With the introduction of the iPhone 6 plus and now the 7 plus and based on industry reports there is no question that the iPhone is the most used camera in the world. All of us have a mobile phone and all of us shoot with one. It's a camera as Rad points out is always with you. But, it's so much more. With the available apps it allows a photographer on one device to extend their creativity from not only what is seen and recorded but to what as an artist they want to share and show. So, we will be covering mobile photography on a regular basis moving forward and looking at how it not only compliments our photography but also allows us the chance to create something different that we wouldn't have done with our regular cameras. I think it's going to be a lot of fun. Rad DrewJanuary 2017
Source:
The Camera You Have With You


 Séamus Bellamy
  Adam Patrick Murray
  Séamus Bellamy
  Photo: Séamus Bellamy
  Sony
Sony  Photo: Séamus Bellamy
  Séamus Bellamy